
Picture this: you’re sitting down, a beautiful piece of fabric spread out before you, ready to transform it into something special. You reach for your trusty Kenmore Model 385 sewing machine, eager to bring your creative vision to life. But wait! There’s a slight snag – you can’t quite remember how to thread the needle or adjust the stitch length. You’re not alone. Many of us have been there, staring at a manual that seems more like a foreign language than a helpful guide. The truth is, your Kenmore Model 385 is a powerful tool, but to truly unlock its potential, you need a clear understanding of how it works—and that’s where this comprehensive guide comes in.

Image: sehrishmilla.blogspot.com
This guide isn’t just for sewing novices. Even seasoned sewers can find themselves needing a fresh perspective or a quick reminder of a specific setting. We’ll delve into the essential features of your Kenmore Model 385, providing step-by-step explanations and helpful tips. From threading the machine to mastering delicate stitches, you’ll gain the confidence to create beautiful projects with ease. So, grab a cup of tea, snuggle into your favorite chair, and let’s embark on a journey to unleash the hidden capabilities of your Kenmore Model 385.
Getting to Know Your Kenmore Model 385, the Sewing Machine That Loves to Sew
The Kenmore Model 385, a beloved sewing machine that has graced countless homes for generations, boasts a timeless charm and undeniable reliability. Its sturdy construction and user-friendly features have made it a favorite among sewers of all skill levels. Stepping back in time, it’s fascinating to consider the history of this machine. It was one of the first models from Kenmore that were designed to be more compact and portable, perfect for home sewers who didn’t have dedicated sewing rooms. Over the years, it evolved, introducing new features and upgrades while maintaining its core functionality. Now, your Kenmore Model 385 is ready to become your creative companion, supporting you as you sew everything from simple repairs to intricate garments.
Navigating the Manual: Your Guide to Sewing Success
The manual that came with your Kenmore Model 385 is like a secret map, revealing the path to a smooth and productive sewing journey. You may not need to refer to it every time you sew, but it’s a valuable resource to keep close at hand. Start with the “Getting Started” section where you’ll find clear instructions on setting up your machine, winding bobbins, and threading. The manual provides detailed illustrations to make the process visual and easy to follow.
The Anatomy of Your Sewing Machine
Before we dive into sewing techniques, let’s take a moment to familiarize ourselves with the key components of your Kenmore Model 385—the machine’s anatomy, if you will. Get to know the parts:
- The Foot Pedal: This essential tool controls the speed of your sewing.
- The Stitch Selector Dial: This handy knob allows you to choose from a variety of stitches, from basic straight stitches to decorative zigzag patterns.
- The Tension Dial: Ensuring the upper and lower threads are balanced is essential for a beautiful stitch. You’ll adjust the tension dial to achieve that perfect balance.
- The Needle Plate: This plate guides the fabric and houses the feed dog, which moves the fabric under the needle.
- The Bobbin Case: Located under the needle plate, the bobbin case holds the bobbin and delivers the lower thread.
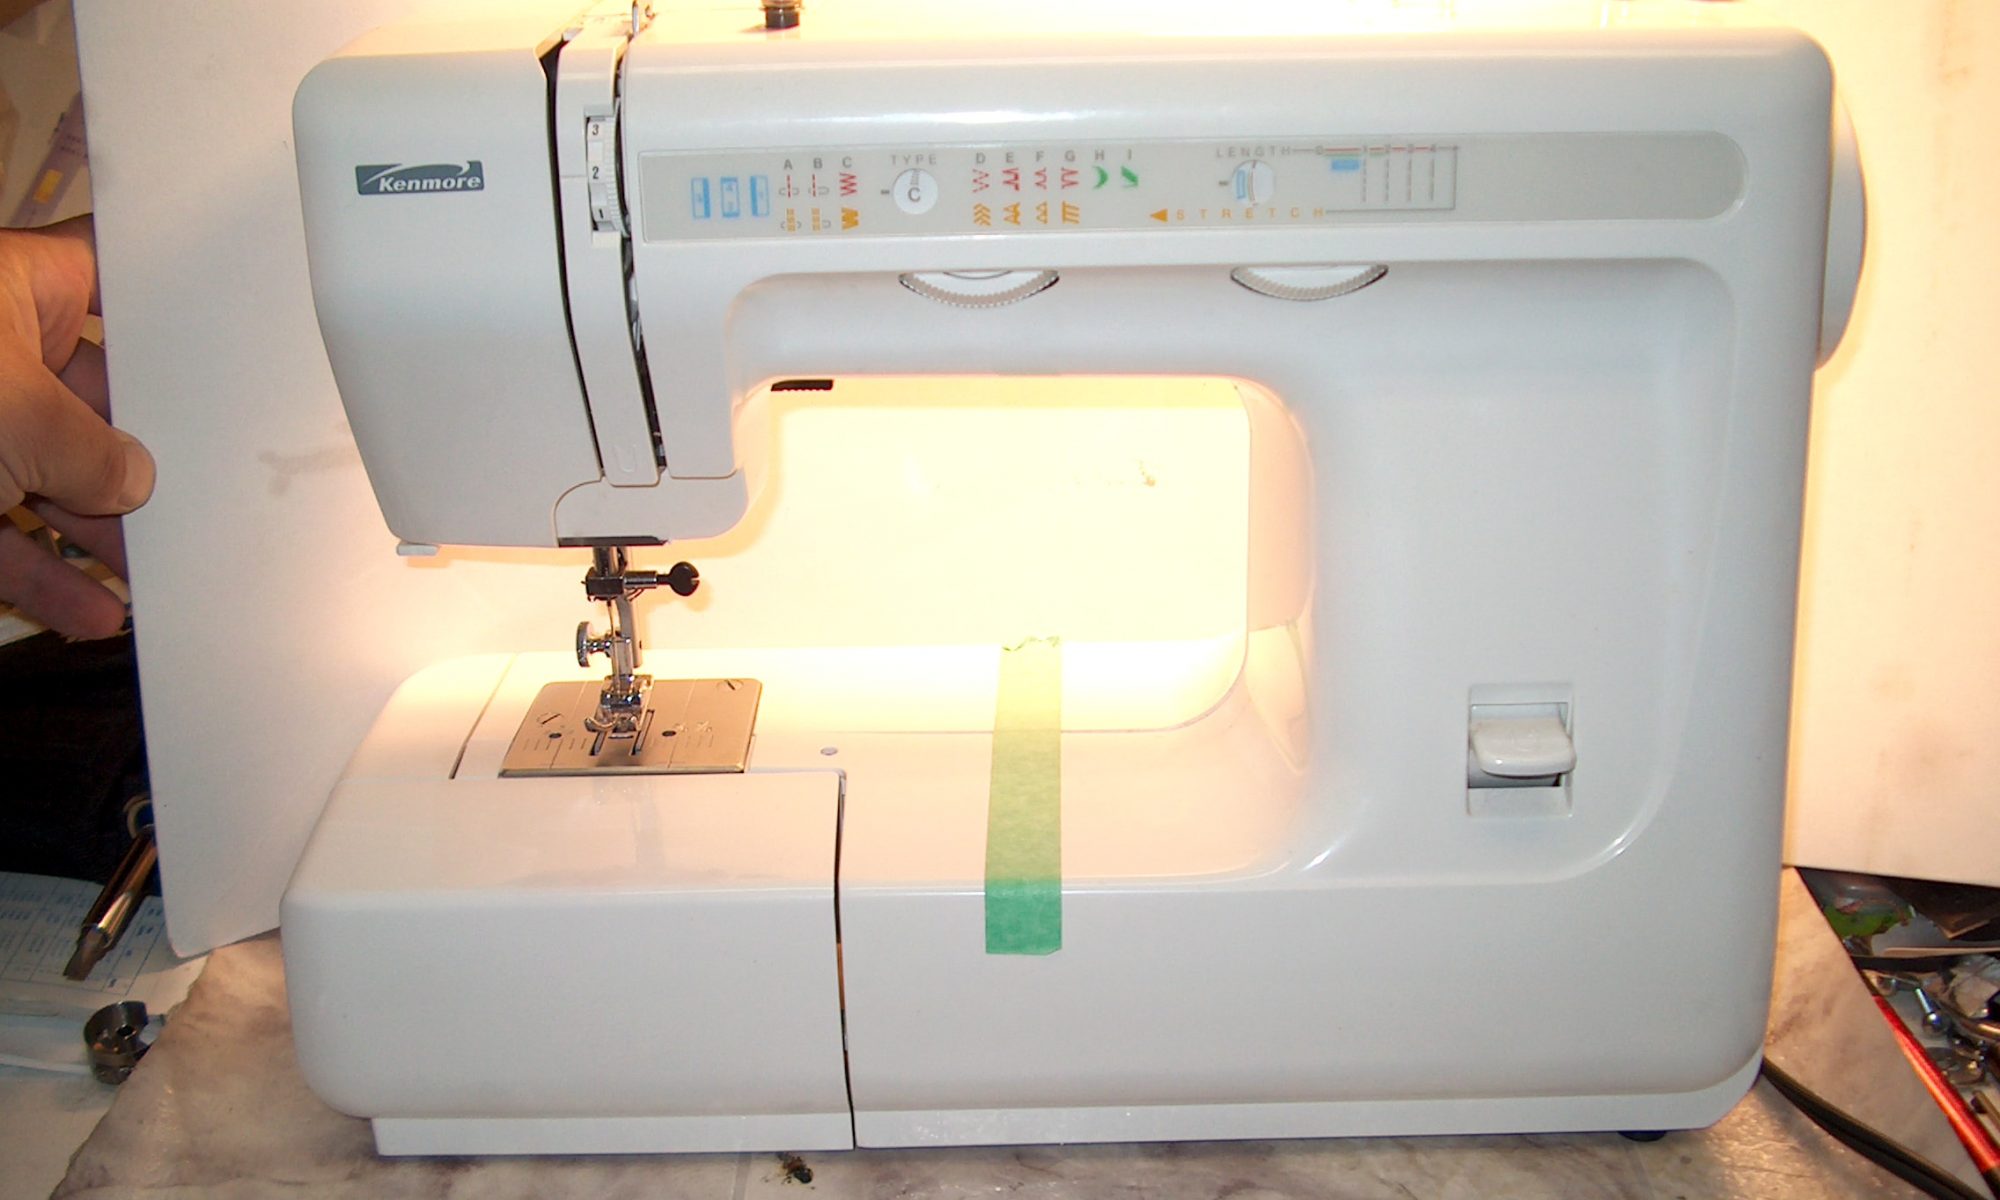
Image: userlibjeffery.z4.web.core.windows.net
Sewing Basics: A Step-by-Step Guide
Now that you’re familiar with the anatomy, let’s dive into the basics of sewing with your Kenmore Model 385.
-
Threading the Machine: Begin by threading the upper thread. The manual will guide you, but here’s the general pattern:
- Thread the needle: The needle is a crucial link, connecting the thread to the fabric.
- Threading the take-up lever: The take-up lever is the curved lever on the right side of the machine. It guides the upper thread and contributes to even stitch formation.
- Threading the thread guide: The thread guide acts as a checkpoint, ensuring the thread moves smoothly to the needle.
-
Winding a Bobbin: The bobbin holds the lower thread, so it’s an essential part of sewing.
- Insert the bobbin: Carefully slide the bobbin onto the bobbin winding spindle.
- Start winding: Engage the bobbin winder, and watch as the thread winds onto the bobbin.
-
Inserting the Bobbin into the Machine: Time to unite the upper and lower threads.
- Open the bobbin case: Locate the bobbin case holder. Open it to insert the bobbin.
- Secure the bobbin: Ensure the bobbin is securely fitted into the case.
- Close the case: Close the bobbin case holder and return it to its position.
-
Choosing the Right Needle: The right needle is key to success.
- Consider the fabric: Different fabrics require different types of needles. Consult your manual or online guides for specific needle recommendations.
- Change the needle: Use the needle changing tool to switch needles effortlessly.
-
Testing Your Tension: Before you start sewing, it’s important to test your machine’s tension. You can identify minor tension issues by testing a few stitches.
- Make a test stitch: Sew a short line of stitching, examining for any unevenness.
- Tweak as needed: If the stitches are too loose, increase the tension slightly. If they are too tight, decrease the tension.
-
Stitching Techniques: Once you’ve mastered the basics, you can branch out to more advanced techniques.
- Backstitching: For added security, use backstitching at the beginning and end of seams.
- Seam finishes: Techniques like serging or zigzagging can prevent fabric from fraying and enhance the overall finish of your projects.
Troubleshooting: When Things Don’t Go As Planned
Even the most experienced sewers encounter occasional challenges, but with a clear understanding of your Kenmore Model 385 and some simple troubleshooting tips, you can overcome them swiftly. Here are some common issues and solutions:
- The machine won’t sew: Make sure the machine is plugged in, the foot pedal is connected, and the needle is down.
- The needle breaks: A dull needle, wrong needle type, or improper needle insertion can all lead to breakage.
- The bobbin thread is tangled: Carefully examine the bobbin case, ensuring the bobbin is properly inserted and the tension is balanced.
Tips from a Sewing Pro: Embracing the Art of Sewing
Your Kenmore Model 385 is like a blank canvas, ready to be transformed into whatever you envision. Here are some tips from a seasoned sewing expert:
- Sew slowly and carefully: Especially when you’re first learning, it’s best to practice slowly and with precision, building speed and confidence as you progress.
- Use a fabric guide: Using fabric guides as you sew will help you achieve smoother seams and cleaner edges.
- Stay organized: Sewing can be a meticulous process, so it’s helpful to have a well-organized space with all your tools at your fingertips.
Kenmore Model 385 Sewing Machine Manual
https://youtube.com/watch?v=WXuB7E-Rvgg
Your Sewing Journey Begins
Unlocking the secrets of your Kenmore Model 385 sewing machine opens a world of possibilities. With practice and dedication, you can transform your sewing skills from beginner to expert, creating beautiful garments, home décor, and anything else your imagination can conjure. This guide is just the beginning; as you stitch, sew, and experiment, you’ll discover your own unique approach to sewing, finding joy in the process as your creativity blossoms. So, take a deep breath, let your imagination soar, and get ready to create! Happy sewing!


