
Let’s face it, we’ve all been there. You’re rushing out the door, ready to tackle the day, only to find your car battery has decided to play dead. The frustration is real, especially when you’re running late. But fear not, because there’s a hero waiting in the wings: your trusty Die Hard battery charger. This powerful tool can revive your battery and keep your car running, saving you from the dreaded tow truck. But before you unleash its power, understanding how to use it properly is key.

Image: www.desertcart.jp
In this guide, we’ll delve into the world of Die Hard battery chargers, exploring their features, safety precautions, and step-by-step instructions for optimal use. Whether you’re a seasoned car enthusiast or a newbie to battery charging, this guide will empower you to tackle any battery situation with confidence.
The Die Hard Battery Charger: A Lifeline for Your Car
Die Hard battery chargers have become synonymous with reliability and power, thanks to their long-standing reputation for quality and performance. Die Hard, a brand known for its automotive products, offers a range of chargers designed to meet different needs, from basic maintenance to heavy-duty jump starting. But regardless of the model, the core principle remains the same: providing a controlled flow of electricity to replenish your car battery, restoring its power.
These chargers are designed to be user-friendly, but it’s important to understand their components and functions for safe and effective use. Typically, a Die Hard battery charger features the following:
- Clamps: These are the connectors that attach to your battery’s terminals (positive and negative). Make sure you connect them correctly, as reversing the connections can damage your charger and the battery.
- Voltage Selection: Some chargers allow you to select the appropriate voltage for your battery. This is important for preventing overcharging and ensuring optimal performance.
- Amperage Adjustment: Die Hard chargers often allow you to adjust the amperage (current flow) based on your battery’s size and charging needs. Lower amperage is used for maintenance charging, while higher amperage is used for jump starting.
- Charge Indicator: This indicates the status of the charging process, often displayed through LEDs or other visual cues. It may show stages like “charging,” “full,” or “fault.”
Understanding the Charging Process
Before plugging in your Die Hard battery charger, it’s crucial to understand the fundamental concepts of battery charging. Car batteries are lead-acid batteries, and they store chemical energy that is converted into electrical energy when needed. When a battery is discharged, its plates become coated with lead sulfate, hindering the flow of electricity. The charging process reverses this chemical reaction, restoring the battery’s power.
This process unfolds in three stages:
- Bulk Charge: This initial stage involves rapidly replenishing the battery with a high current. It’s the most aggressive phase and typically lasts for a few hours.
- Absorption Charge: As the battery approaches full charge, the current decreases, and the charging process focuses on completing the chemical reaction, ensuring full capacity. This stage can take several hours.
- Float Charge: This final stage uses a low current to maintain the battery at full charge. It’s like a top-up, preventing the battery from losing its charge over time.
Safe and Effective Battery Charging with Die Hard
Now that you’ve grasped the basics, let’s dive into the practicalities of using your Die Hard battery charger. Follow these steps to ensure a safe and efficient charging experience:
- Prepare your Work Area: Choose a clean and dry surface to work with. Never attempt to charge a battery in a damp or wet environment.
- Inspect Your Battery: Before connecting your charger, look for any signs of damage, corrosion, or leaks on your battery. If you find any, consult a mechanic or battery specialist.
- Connect the Clamps: Connect the positive clamp (usually red) to the positive (+) terminal of your battery. Ensure a secure connection. Then, attach the negative clamp (usually black) to a suitable ground point on your car’s chassis. Never connect the negative clamp to the battery’s negative (-) terminal, as this can create sparks and damage your charger.
- Select the Charging Mode: Refer to your Die Hard charger’s manual for the appropriate charging mode and amperage setting for your battery size.
- Start Charging: Once everything is connected and the appropriate settings are selected, plug in the charger. The indicator light should illuminate, signifying the charging process has begun.
- Monitor the Charging Process: Regularly check the battery’s temperature, as it can become warm during charging. If the temperature becomes excessively hot, stop the charging process and let the battery cool down.
- Disconnect the Charger: Once the battery is fully charged, the charger’s indicator light will usually change or shut off. Let the battery cool for a few minutes before disconnecting the clamps.
- Maintenance Charging: Keep your car battery in tip-top shape by giving it a regular maintenance charge, even if it’s not completely discharged. This is especially important if you don’t drive your car frequently.
- Don’t Overcharge: Overcharging your battery can shorten its lifespan. Always follow the manufacturer’s guidelines for charging time and amperage.
- Battery Age: Consider the age of your battery. If it’s over five years old, it might be a good idea to replace it, even if it seems to be working fine.
- Proper Storage: When storing a battery for an extended period, ensure it’s fully charged and store it in a cool, dry place.
- Battery Testing: Invest in a battery tester to ensure your battery is holding a charge and to identify any potential issues early on.
In addition to these steps, always follow the safety precautions outlined in your Die Hard battery charger’s manual. These instructions are tailored to your specific model and ensure your safety during the charging process. Never attempt to charge a frozen battery, and always wear safety goggles to protect your eyes from potential sparks or splashes. If you’re unsure about any aspect of the charging process, seek assistance from a qualified mechanic or battery expert.
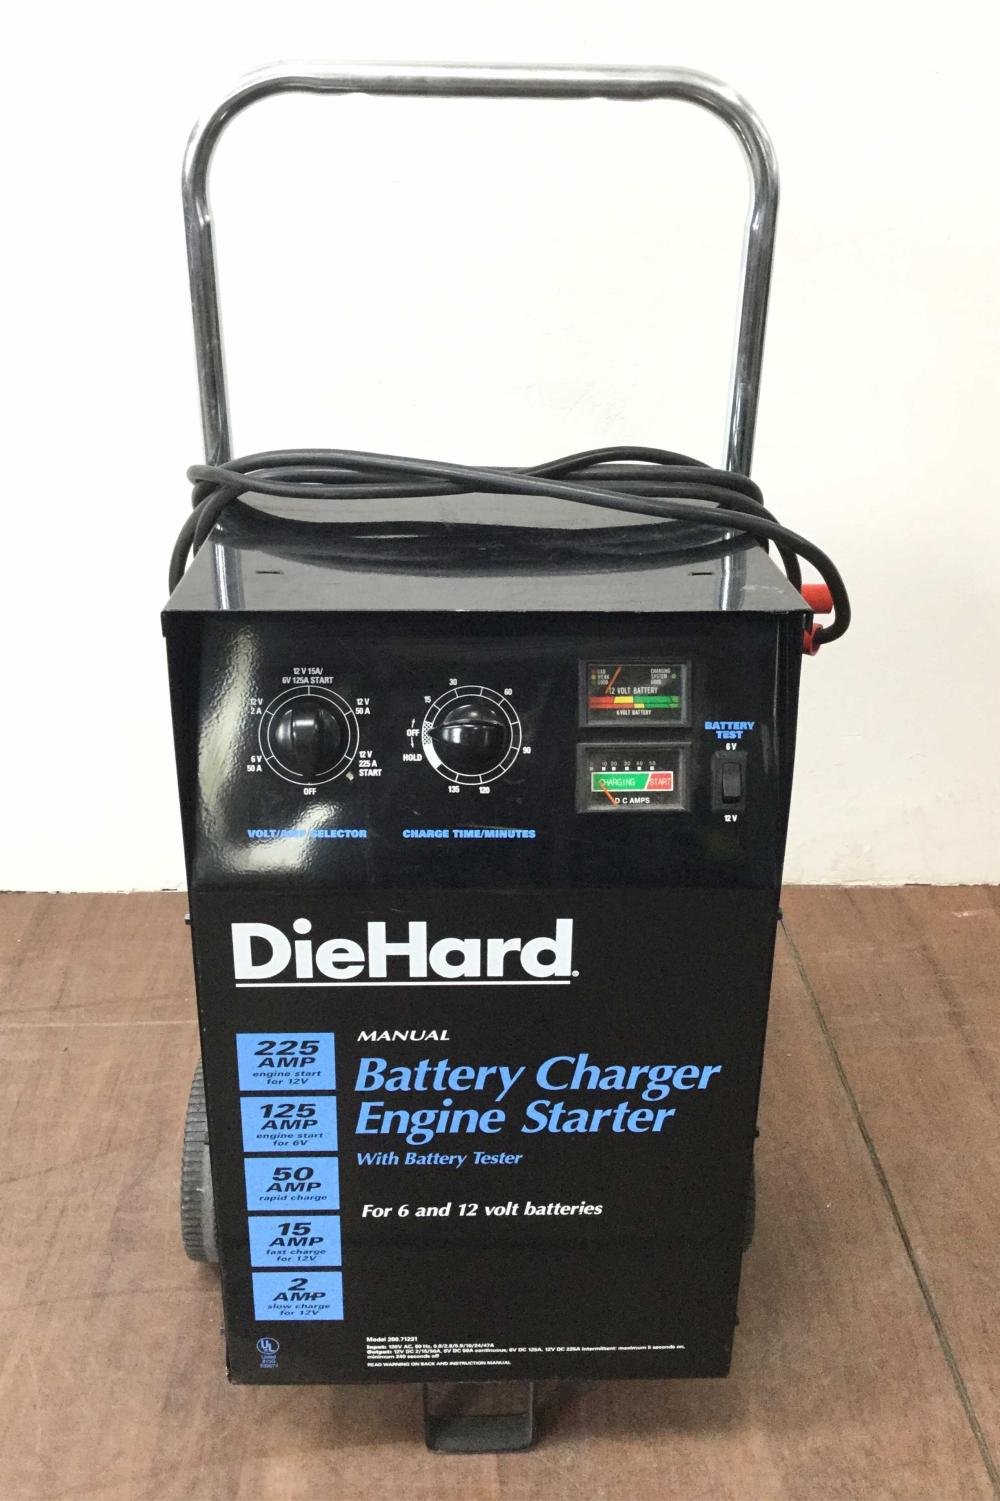
Image: chargerblog.com
Tips and Expert Advice
Now that you’ve got a solid grasp on how to use a Die Hard battery charger, let’s boost your knowledge with some expert tips:
By incorporating these tips into your battery care routine, you can keep your car battery running smoothly and extend its lifespan. Remember, a healthy battery is essential for a reliable car, so take the time to invest in proper maintenance and charging practices.
FAQ about Die Hard Battery Chargers
Q: What is the difference between a battery charger and a jump starter?
A: A battery charger is designed to slowly and carefully replenish the charge in a battery, restoring it to full capacity. A jump starter, on the other hand, delivers a large burst of power to jump-start a dead battery, allowing you to start your car temporarily. While both devices involve electricity, their purposes and methods are different.
Q: How long does it typically take to charge a car battery?
A: The charging time for a car battery varies depending on the battery’s size and the amperage output of the charger. A typical 12V car battery can take anywhere from 4 to 12 hours to fully charge, but it’s always best to refer to the battery manufacturer’s recommendations and the instruction manual for your specific charger.
Q: Can I use any battery charger for my car?
A: It’s generally recommended to use a battery charger that is specifically designed for car batteries. Some chargers are intended for different types of batteries, such as deep cycle batteries, motorcycle batteries, or even lithium-ion batteries. Using the wrong charger can damage your battery or the charger itself.
Q: What are some signs that my car battery needs to be charged?
A: A few common signs include: Sluggish engine cranking, dimming headlights, slow-responding power windows, a dashboard warning light, or a clicking sound when you try to start the car. If you experience any of these signs, it’s a good idea to connect a battery charger and give your battery a boost.
Q: How often should I charge my car battery?
A: If you drive your car regularly, a regular maintenance charge might not be necessary. However, if you have a car that sits for long periods, a monthly maintenance charge can help prevent your battery from losing its charge and prolong its life.
Die Hard Battery Charger How To Use
Conclusion
Mastering the art of using a Die Hard battery charger is a valuable skill for any car owner. By following the steps outlined in this guide, you can confidently charge your battery, extending its lifespan and ensuring your car starts reliably every time. Remember, a properly charged battery is a fundamental element of a trouble-free driving experience. So go forth, unleash the power of your Die Hard battery charger, and keep your car running strong!
Are you interested in learning more about battery maintenance tips and tricks? Let us know in the comments below!


